Fundamentals of Weather Proofing your Front Door

With extreme temperatures and unpredictable costs of natural gas and oil there are a number of factors you can’t control when it comes to budgeting for utilities. Every effort to conserve energy and reduce expenses counts, some more than others. Here are a few ways you can save money on utility bills that will make a difference to your bottom line.
Unlike some home improvements, when you weather-protect your doors and windows you will immediately notice a difference. Not only will the temperature in your house be more comfortable, sealing your home off from the outdoor elements has long-term benefits. Therefore, it is a wise investment that is simple, affordable and delivers immediate results.
Make your house energy efficient by fixing doors and windows that aren’t sealed tightly.
Before making any improvements, make note of a few important factors:
- The main part of the door, called the panel, needs to be flush and line up with the sill (bottom), jambs (sides of door frame), and header.
- Adjustments to one side of the door or jamb will affect other areas or functions of the door.
- Using DIY weatherstripping and foam insulation is a temporary solution.
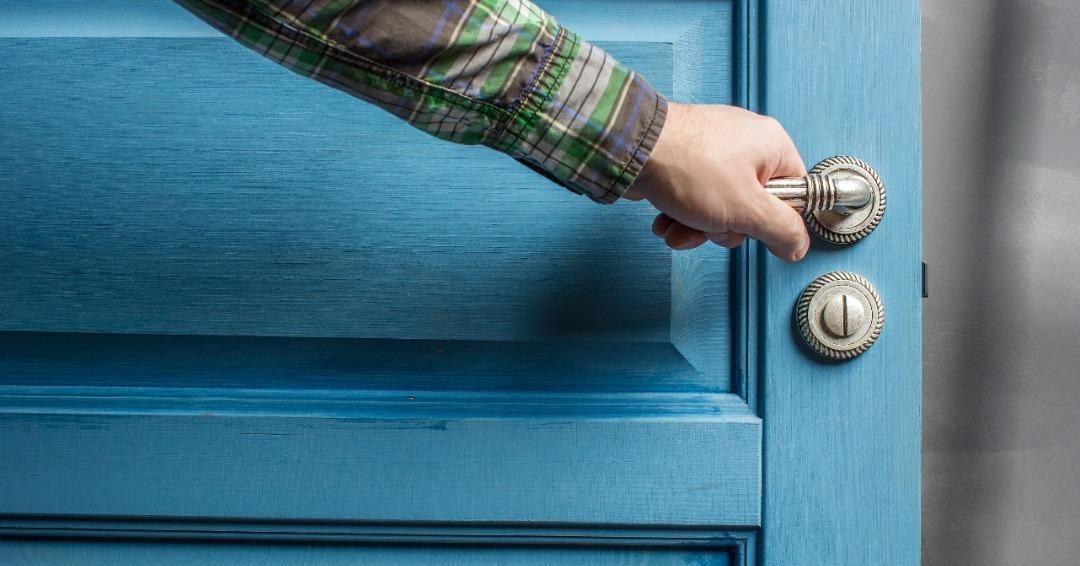
- The direction the door swings (outswing or inswing) and which side the handle and hinges are on.
A common solution to drafty doorways is a door sweep which is a strip of plastic or metal that attaches to the bottom of the door panel.
Sometimes with doors it’s as easy as looking for gaps that you can visibly see. Another sign is if there is any movement in an area there should be a solid seal, like with a window pane.
With single-pane windows, there isn’t an air pocket to help insulate the glass. One quick, temporary insulation trick for window panes is bubble wrap. Using the bubble wrap with large bubbles, lightly spray the inside of the window and the bubble side with water. Press the bubble wrap up against the window plane gently but firmly. It will form a seal and stick to the window pane. Easy installation and easy removal!
Quick fixes to insulate your front entrance
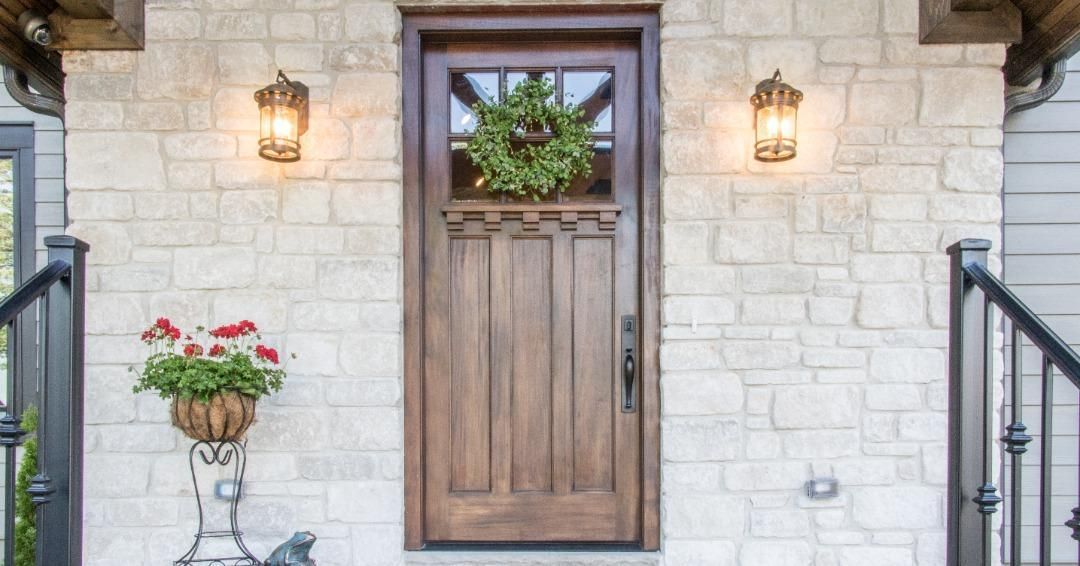
The front entrance is often a particular area of focus for many people, not only as a focal point for curb appeal but also as a highly used space that also protects the home from the exterior elements. {Link to previous blog about choosing the right front door}. It makes sense that the entryway is a good place to start looking for places to seal up.
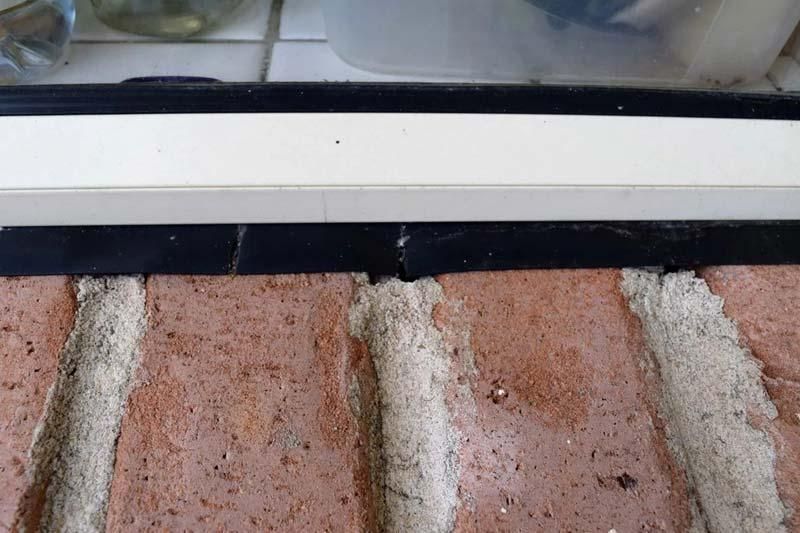
The primary location of air leaks at the front door is along the bottom between the threshold and the door. The front door gap between the door and sill is typically ⅛” to ¾” which can be covered by adding a door sweep to the outside of the door.
There are different styles of sweeps so the material the door is made of and the size of the gap will be important considerations. There is also a door shoe, which slips on the bottom of the door like a sleeve, which can be easier to install but tend to wear down quicker due to the additional friction the seal endures at the bottom of the door, as opposed to along the bevel of the threshold.
If you do use temporary weatherproofing products, be sure to check the condition of the materials and seals at least once a season.
Out With The Old Caulk, In With The New
Applying new caulk over the top of existing caulk is the most common mistake of weatherproofing. It’s like putting a new bandaid on without removing the old one – or putting a second pair of socks over the ones you are wearing because your feet got dirty.
If you don’t first remove the old, worn-out caulk you will likely be re-doing the repair again in under a year. The extra time you take to create a clean surface for the new caulk to adhere to will make this job have a longer lasting and stronger impact on sealing your home against the elements.
Caulking can be intimidating if you haven’t used it before, but if you use acrylic or latex caulk there is easy clean-up and little to no risk of damage. If you are new to caulking, note that you don’t want to use polyurethane caulk, as that is more toxic and requires special clean up materials.
There are a lot of instructions about how to caulk but they all share a few common truths:
- You need to use a caulk gun, which is really just a metal container for the caulk to go in and a lever you squeeze to push the caulk out of the tube.
- Cut the tip of the caulk off at a 45° angle.
- Apply caulk to a clean surface and smooth the bead to create an air and watertight barrier.
These are some simple solutions if you have a drafty door or worn-down weatherstripping. There is a real benefit of getting it done right and creating a complete seal. Contact DFW Door Repair and schedule a free door inspection.


